Hola.
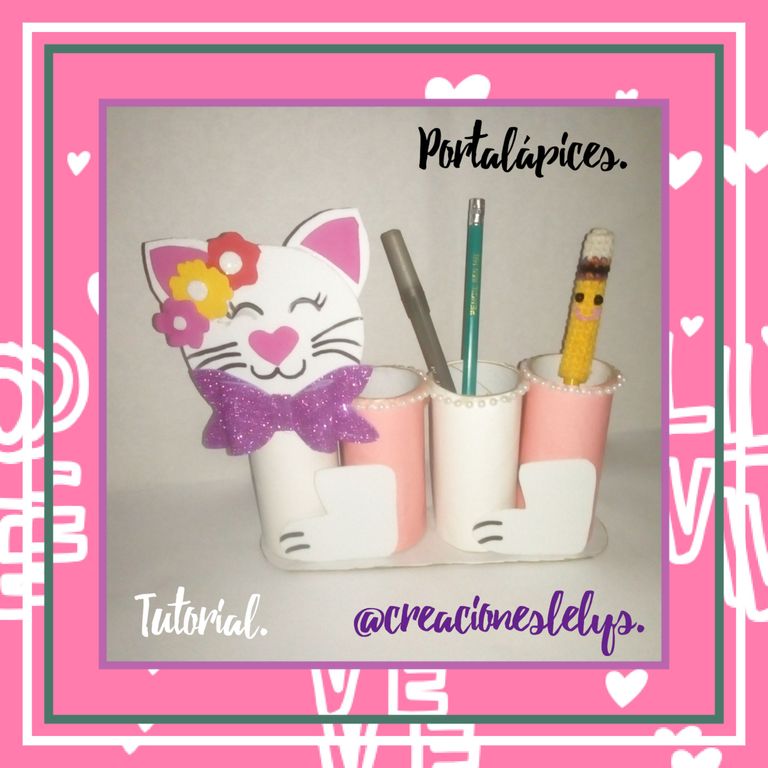
Soy Lelys 🤝 Bienvenidos nuevamente a mi espacio creativo. En esta ocasión quiero mostrarte los pasos para realizar un lindo Portalápices diseño Gatita. ¡Empecemos!
Hello.
I'm Lelys 🤝 Welcome back to my creative space. This time I want to show you the steps to make a cute Pencil Holder Cat design. Let us begin!
Los materiales los iré nombrando en cada uno de los pasos.
I will name the materials in each of the steps.
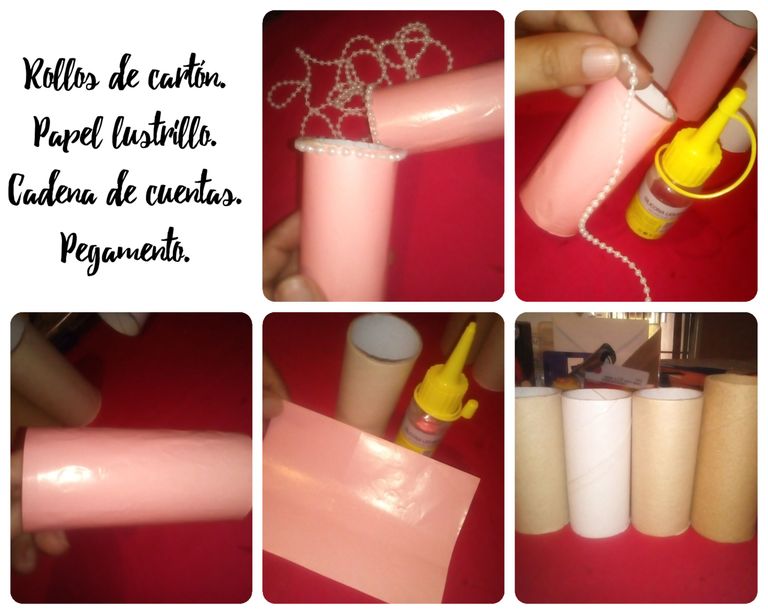
Paso 1: Reunir cuatro rollos de cartón. Pintarlos o forrarlos con papel lustrillo. Colocarle como detalle, cadena de perlas sobre el borde superior de cada rollo.
Step 1: Gather four cardboard rolls. Paint them or line them with glossy paper. Place a pearl chain as a detail on the upper edge of each roll.
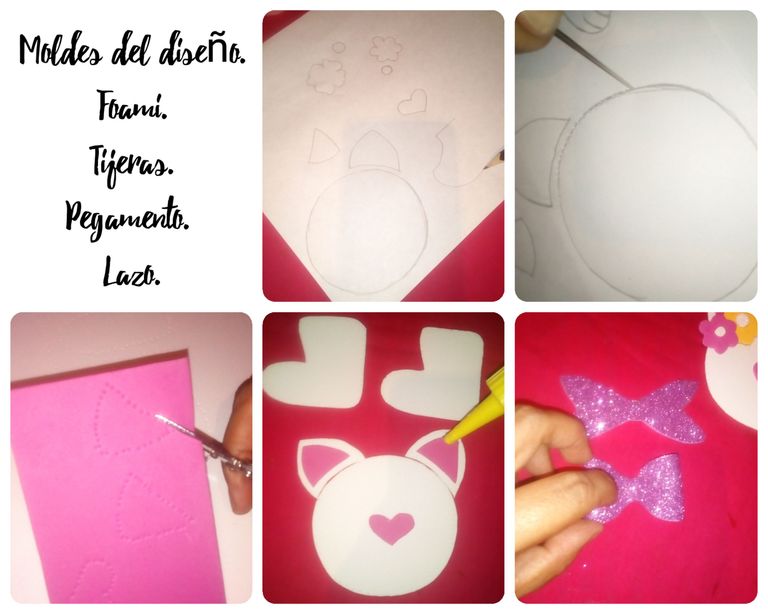
Paso 2: Dibujar el diseño de la gatita sobre un papel blanco. Pasar el molde de cada pieza al foami, utilizando una aguja punta redonda para perforar y realizar las marca. Cortar cada pieza: cabeza, orejas, patas. Haz un lazo con foami escarchado. Pega cada una de las piezas para formar la figura. (Ver imagen)
Step 2: Draw the kitten design on a white paper. Pass the mold of each piece to the foam, using a round point needle to pierce and make the marks. Cut each piece: head, ears, legs. Make a bow frosted foam. Glue each of the pieces to form the figure. (View image)
Paso 3: Realizar la base con cartón duro forrado con papel blanco. Toma las medidas montando sobre el cartón los cuatro rollos de cartón, previamente pegados lateralmente. Añade detalles a la gatita: bigotes, ojos, nariz, dedos. Pega sobre la base de cartón.
Step 3: Make the base with hard cardboard lined with white paper. Take the measurements by mounting the four cardboard rolls, previously glued on the side, on the cardboard. Add details to the kitten: whiskers, eyes, nose, fingers. Glue on the cardboard base.
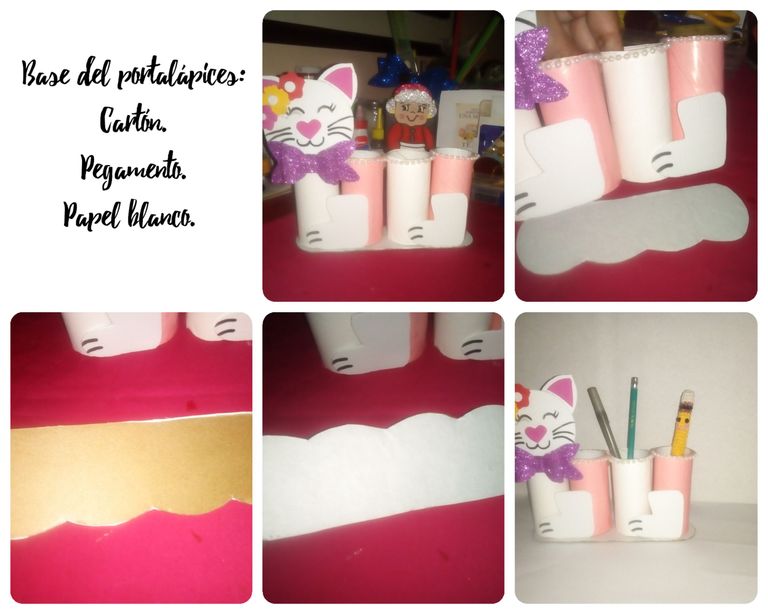
Paso 4: Corregir los detalles y retirar los excesos de pegamento. Disfruta de tu diseño. Está lindísimo.
Step 4: Correct the details and remove excess glue. Enjoy your design. It is beautiful.
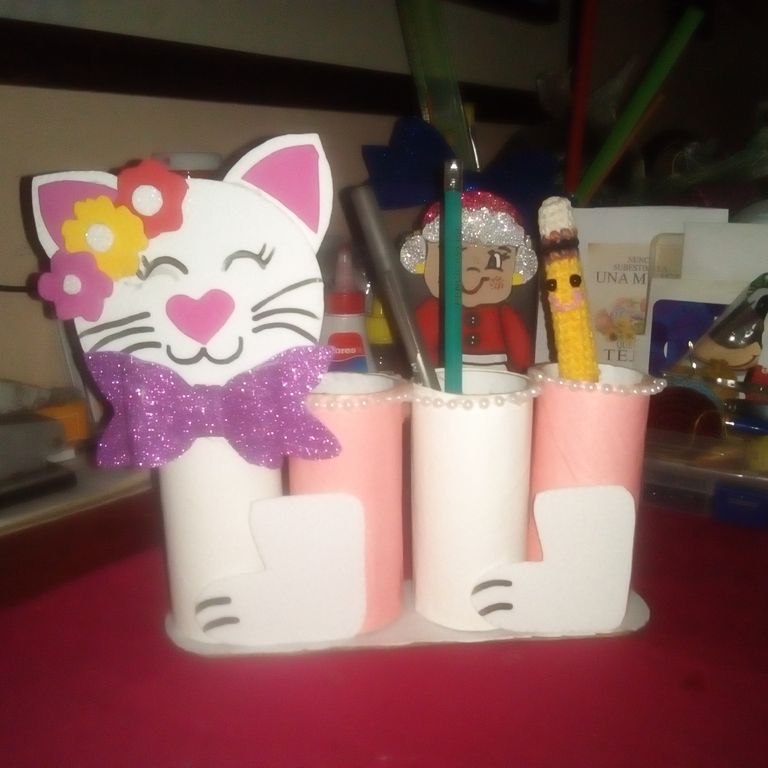
KITTY PENCIL HOLDER
Todas las fotos son de mi propiedad. Editadas con Polish y Canva. Uso traductor de Google. Se les quiere.
All photos are my property. Edited with Polish and Canva. I use google translate. They are loved.
Te invitamos a votar por @blurthispano como Witness
Congratulations, your post has been curated by @dsc-r2cornell. You can use the tag #R2cornell. Also, find us on Discord
Felicitaciones, su publicación ha sido votada por @ dsc-r2cornell. Puedes usar el tag #R2cornell. También, nos puedes encontrar en Discord